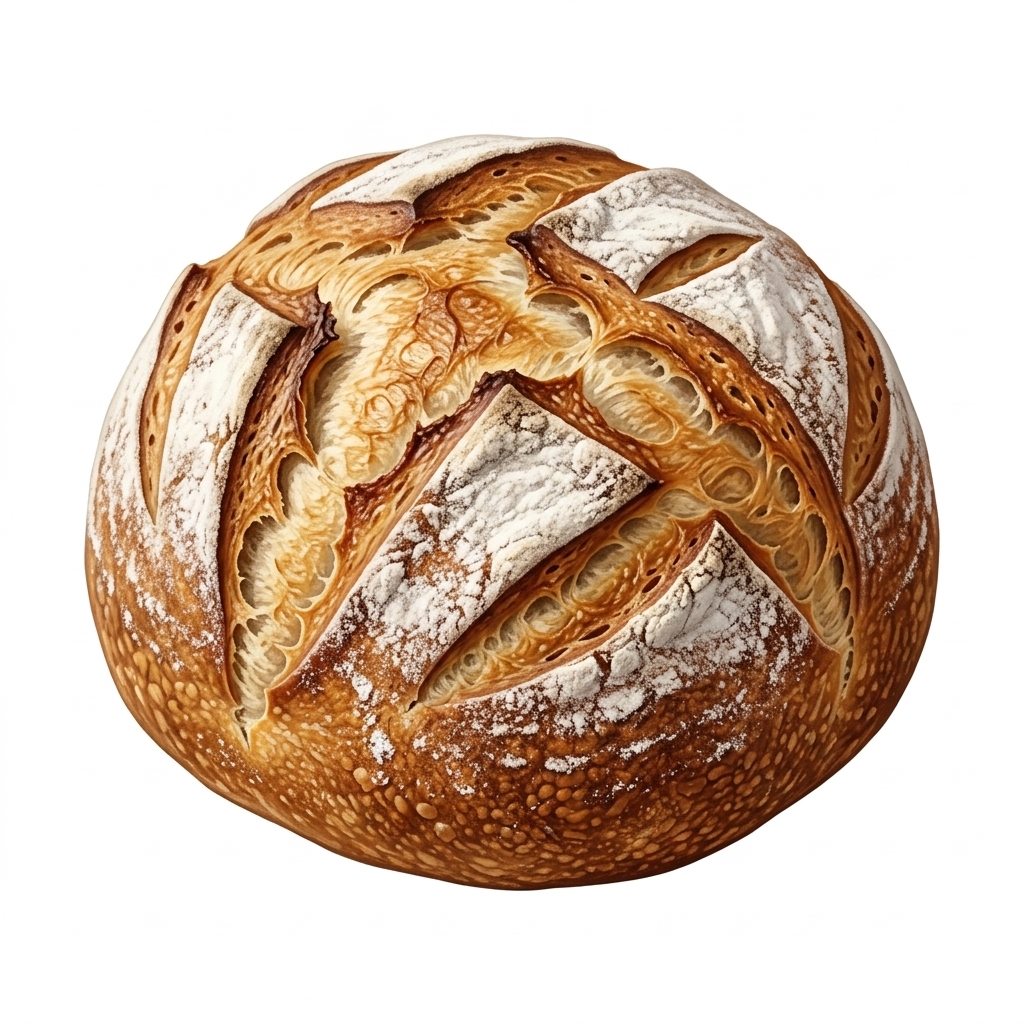
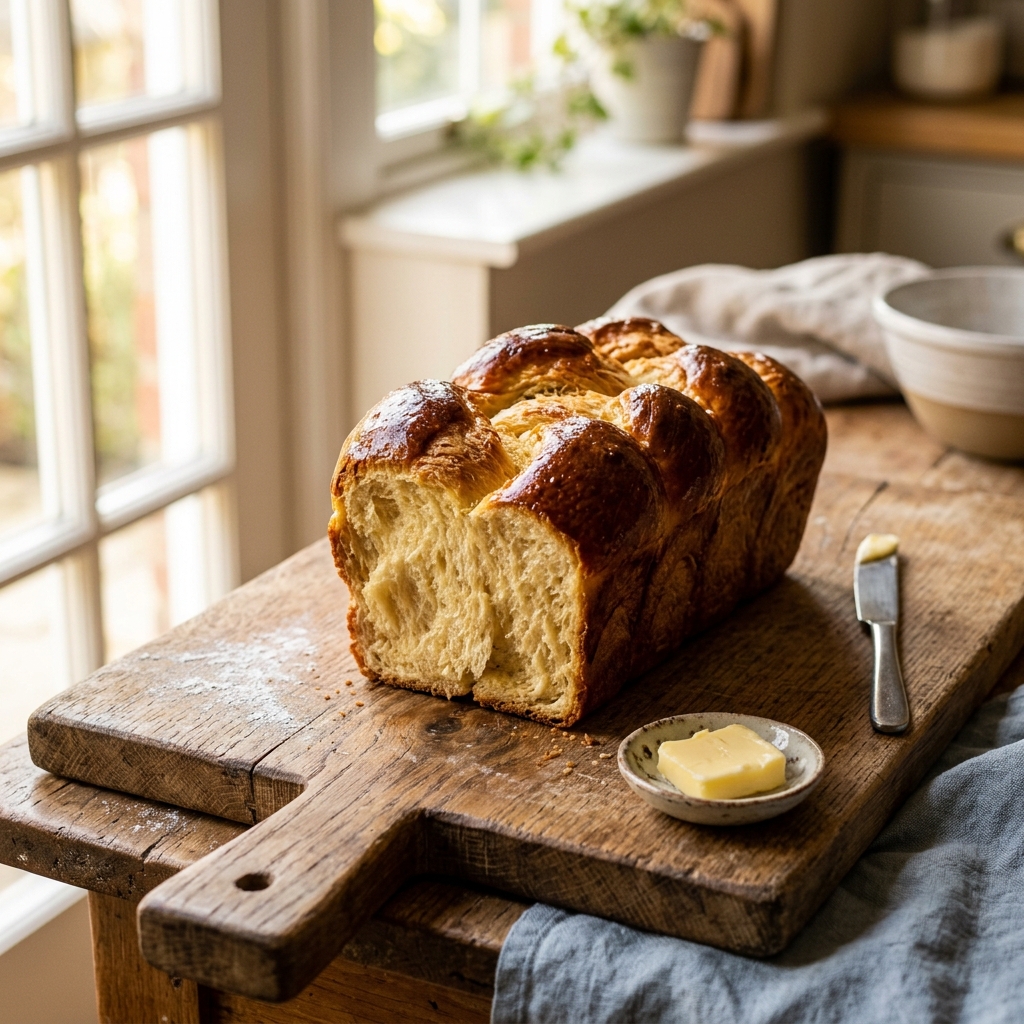
Brioche is the undisputed king of enriched breads. With its soft, pillowy texture, golden crust, and rich, buttery flavor, it’s a versatile bread that can be used for everything from French toast and hamburger buns to simply being enjoyed warm with a spread of jam.
What Makes Brioche Special?
As we discussed in our previous post on enriched dough, brioche is elevated by the addition of butter, eggs, and milk. This extra fat tenderizes the gluten, resulting in a cloud-like crumb that melts in your mouth.
The Golden Rule of Brioche: Patience with Butter
The secret to a successful brioche lies in how and when you add the butter. If you add it too early, it coats the flour and prevents gluten from forming. You must first knead the flour, eggs, and milk until a strong gluten network develops. Only then do you incorporate the softened butter, bit by bit. It might look like a greasy mess at first, but keep kneading, and it will eventually fully incorporate into a silky, smooth dough.
Classic Brioche Recipe
Ingredients
- 500g strong white bread flour
- 10g salt
- 50g caster sugar
- 10g instant yeast
- 140ml whole milk, slightly warm
- 5 medium eggs, lightly beaten
- 250g unsalted butter, softened at room temperature
Method
- Mix the Base: In a bowl, combine the flour, salt, sugar, and yeast (keep salt and yeast on opposite sides). Add the milk and eggs, mixing until it comes together into a rough dough.
- Develop the Gluten: Knead the dough (preferably using a stand mixer with a dough hook on medium speed) for about 10 minutes until it becomes strong, elastic, and pulls away from the sides of the bowl.
- Incorporate the Butter: With the mixer running on low, add the softened butter a few tablespoons at a time. Wait until each piece is fully incorporated before adding the next. This process can take another 10-15 minutes. The dough should be glossy and very elastic.
- First Proof (Cold Retard): Brioche dough is very soft and difficult to shape when warm. Cover the bowl and refrigerate for at least 6 hours, or ideally overnight. The butter will firm up, making the dough manageable while also deepening the flavor.
- Shape and Second Proof: Divide the beautifully chilled, firm dough into equal portions. If baking a classic loaf in your 2lb tin, the traditional method is to divide the dough into 6 or 8 equal pieces. Roll each piece tightly on your counter into a smooth ball, and place them side-by-side (in a zig-zag or two rows) directly into your lightly buttered loaf tin. Cover loosely with a damp towel or plastic wrap. Leave it to proof at room temperature until it has doubled in size and the dough gently fills the tin. Because the dough starts straight from the fridge, this second proof will take time—roughly 2 to 3 hours depending on how warm your kitchen is. Don’t rush this stage; letting it plump up fully is the secret to an incredibly airy, light crumb.
- Bake: Gently brush the dough with an egg wash for that classic shiny, golden crust. Bake in a preheated oven at 180°C (160°C Fan/350°F) for 25-35 minutes until deep golden brown and hollow-sounding when tapped on the bottom.
Let the brioche cool completely before slicing (if you can resist!). The patience is worth it. Happy baking!
Shop the Tools Used for Classic Brioche
Brioche is a labor of love, but having the right tools makes all the difference. Here is what I recommend:
- Heavy-Duty 2lb Loaf Tin: Perfect for giving your brioche the structural support it needs for its spectacular oven spring. This is my recommended tin.
- Kitchen Scale: Precise hydration and butter-to-flour ratios are critical for enriched doughs. These scales are reliable and precise.
- Dough Scraper: Essential for handling this sticky, buttery dough before it chills. Get yours here.
- Baking Stone: Even if you bake your brioche in a tin, placing it on a pre-heated stone ensures a perfectly baked bottom. This is the one I use.
- Bread Proofer: Because brioche dough does its second proof straight from the fridge, a temperature-controlled proofer set to 26°C (79°F) provides the perfect gentle warmth to encourage a steady, beautiful rise without being so hot that it melts the butter. This is the proofer I use.
Disclaimer: As an affiliate, I may earn a small commission from purchases made via these links, which helps keep ‘Daz Bakes Bread’ rising!
